Sunday 22 June 2014

Masala Vadai or Savoury Fritter

There is something about Masala Vadai that I hated for a long time and it used to be the least favorite snack of mine. I find the garam masala powder and ginger smell quite strong and always leave a heavy feeling after eating the lentil based fritters. The previous notion was completely given an enlightenment after tasting the same fritters at my friend's house. She made them just the way I preferred, you know light, crunchy and not overpowering with the masala ingredients as implied by its own name 'Masala Vadai'. Few ingredients turned the savory fritter to be a simple tasty one. The lesson was that food need not be delectable only when the list of ingredients reach the ground but simplicity and minimum ingredients could also improve the taste far better than what we had imagined. Please do not use other type of dal or lentil as Australian Bengal dal or Australian Kadala Parupu is the star of this recipe.


Masala Vadai

Ingredients :

Australian Bengal dal or Australian Kadala Parupu : 1 1/4 cups
Small onions : 6
Small green chillies :4 (adjust accordingly)
Dry red chillies : 6 (adjust accordingly)
Fennel seeds : 1 tbsp + 1/2 tsp (used more in place of asofetida)
Curry leaves : 2 sprigs
Salt : as needed 
Oil : for frying

Method :

1. Soak bengal dal in a sufficient water for 8 hours.

2. After 8 hours, drain off excess water in a colander.

3. In a liquidizer add soaked dal, salt, dry red chillies and 1 tbsp of fennel seeds. Grind half of the dal to a smooth paste and the other half grind to a coarse texture without adding water.


4. To the ground dal mixture, add finely chopped small onions, green chillies, curry leaves and 1/2 tsp of fennel seeds.

5. Mix well and form a small lemon size ball and pat it lightly on top and edges.

6. Enough oil is needed for deep frying this savory lentils. Keep oil on medium flame and make sure oil is hot enough before frying. 

7. Serve hot as an evening snack.


Masala Vadai


Banana Halwa


I bought a big bunch of nendran banana or pisang tanduk (in Malay) from the market after stumble across the goodness it carries. Unlike other common bananas which can be eaten as it is, the raw nendran banana has to be cooked either as a savory or sweet dish and overly ripe bananas can be concocted into fritters, halwa, sweet pudding or even steamed and later sprinkled with palm sugar and grated coconut. This type of banana is also known as cooking banana which taste heavenly delicious after the cooking process. Sweet, sour and tartness of the banana give a unique blend of flavor when used in food preparation. Nendran banana is also rich in dietary fiber and potassium. I made banana fritters and banana halwa using those bananas. The halwa was soft, chewy and not too sweet as the natural sourness counterbalances the other elements in that sweet dessert. I prefer to make fruit based halwa as I can reduce more than half the quantity of sugar recommended in that type of Indian dessert as fruits such as pineapple, apple, durian, papaya and banana are sugar contained. Jaggery or palm sugar can be substituted with the ordinary sugar.

Ingredients for making banana halwa (using Nendran banana or Pisang Tanduk) :


Ripe bananas : 1 medium and 1 big (pureed banana pulp of 2 cups)
Jaggery or palm sugar or brown sugar : 3/4 cup
Ghee or clarified butter : 1/4 cup + 2 tbsp
Cardamon powder : a pinch

Method :

1. Puree the chopped bananas in a liquidizer to a super smooth paste. Do not add water while grinding.

2. Measure the pureed banana pulp to 2 cups.

3. I encourage you to buy good quality organic jaggery or brown sugar as less impurities will be there. Measure the brown sugar to 3/ 4 cup. If the banana that you are using has got extra sweetness, than you may only use 1/2 cup of brown sugar.

4. In a wide heavy bottom pan, add 1/8 cup of ghee to fry the banana paste till it becomes thick and slightly dry. You must cook the banana in ghee for at least 15 minutes before adding sugar. 

5. After that, add brown sugar, now and then you can also add the balance ghee and keep stirring continuously.

6. You have to keep on stirring till ghee oozes out of halwa and the halwa changes colour to dark brown.The halwa mixture should also leave the sides of the pan easily. Add more ghee when you have difficulty to stir.

7. When you take a small pinch of halwa, you should be able to form a soft and chewy ball with your index finger and thumb. That's the right stage to remove halwa from the heat.

8. Cut the halwa to small square pieces after cooling for 3 hours. Use knife blade heated in flame to cut the pieces without having difficulty.

Banana Halwa


Tuesday 17 June 2014

The Garden


Scribbler's mind 
 
The garden at No.5, Brindavan Villa is now a neglected area in our neighborhood. The garden lost its captivating charm after the house owner’s demise two months ago. Several times within this month, I have been passing by the garden only to perceive scenery of dense, wild weeds growing since the owner’s separation.

I had expressed sadness for the house owner whom took so much of exertion and pride to cultivate flowers of different varieties that used to welcome swarm of bees in admiration. Apart from that, Uncle Samir also had planted tropical fruit trees in an array and well-trimmed crawling plants that now dangled all over the man-made fence. The deplorable sight of tarnished red gate recollected many memories on how Uncle Samir imported some exquisite metallic red grill bars which later assembled into his most favored front gate of the garden.

In the past, there was a small pond with stream of water spurting through the curved vault built above a mannequin mermaid. At the distance, where the wind could rustle the waterfall, laid a winding gritty footpath with huge marble stones fixed to the ground resembling human footsteps. It was there to allow visitors of the Villa to relax their weary feet after a long journey into our vicinity. There was also a custom made swing with two swirling handles made by the welding man living across Uncle Samir’s house.

In the evening, the swing was a great companion for Uncle Samir to leisurely gaze at his own hard work and with a good book in reading. Uncle Samir’s only son made a decision to demolish the entire garden and house in order to sell the land to a wealthy family. There is no trace of beautiful garden, it’s only a piece of wide land hidden its memories within the soil.


Monday 16 June 2014

Home-made Soyabean Drink

It is a hot and sunny day in Malaysia now. The high temperature is more than tolerable and definitely we need some kind of drink to quench thirst and cool our body heat. Nothing is better than homemade soya bean milk, a great substitute for tea and coffee or even milk. The procedure seems to be tedious and chaotic but trust me the end result is worth of all the effort you had exerted. The drink could be chilled or served hot. It is best consumable within 3 days. Using the prepared soya bean drink, we can also make jelly or something very similar to panna cotta, a type of Italian dessert made out of dairy milk or cream. While the soaked soya beans of 5 hours can also be steamed made into Indian style pattani sundal.   

             “Sending this entry to Ahlan Ramadan –The Healthy Way” 


Ingredients for making soya bean milk :

Dry white Soya bean : 1 1/2 cups
Filtered water : 8 cups
Screw pine or pandan leaves : 4 tied into a knot (optional)
Strainer
Muslin or cheese cloth

Ingredients for making brown sugar syrup:

Gula Melaka / palm sugar : 1 block or brown sugar : 1 cup
Water : 1/2 cup


Method :


1. First, soak the soya beans in sufficient water for 5 hours. After 5 hours, it will double in size. Remove the excess water and wash again.


2. Grind the soaked and washed soya bean in a liquidizer in three batches by adding 2 cups of filtered water for each batch during the grinding process. Grind them into smooth consistency.


3. Now, filter the ground soya bean paste and its water through a strainer twice until you get smooth milky liquid without any husk.


4. Gather filtered milky liquid in a deep and heavy bottom pan. 

5. The leftover soya bean husk from the filtration process should now be ground with another 2 cups of water for one last time and filter it twice. 

6. Add to the previously mentioned pan. Now for the third filtration use muslin cloth or cheese cloth wrapped on the strainer to filter again. Discard the husk.

7. You may also add screw pine or pandan leaves for nice flavor. I have added total of 8 cups of filtered water but you may also add up to 10 cups. It depends whether you like it thick and creamy or slightly watery.


8. Cook the third time filtered soya milk liquid for 20 minutes on medium flame. 

9. Remove the pandan leaves, and let the unsweetened soya milk chill outside before transferring it into fridge. It is only consumable within 3 days.

10. To make brown sugar syrup, you need to dilute brown sugar in water and stir under medium flame. Once it had turned into semi thick syrup. Switch off the stove and let it cool.
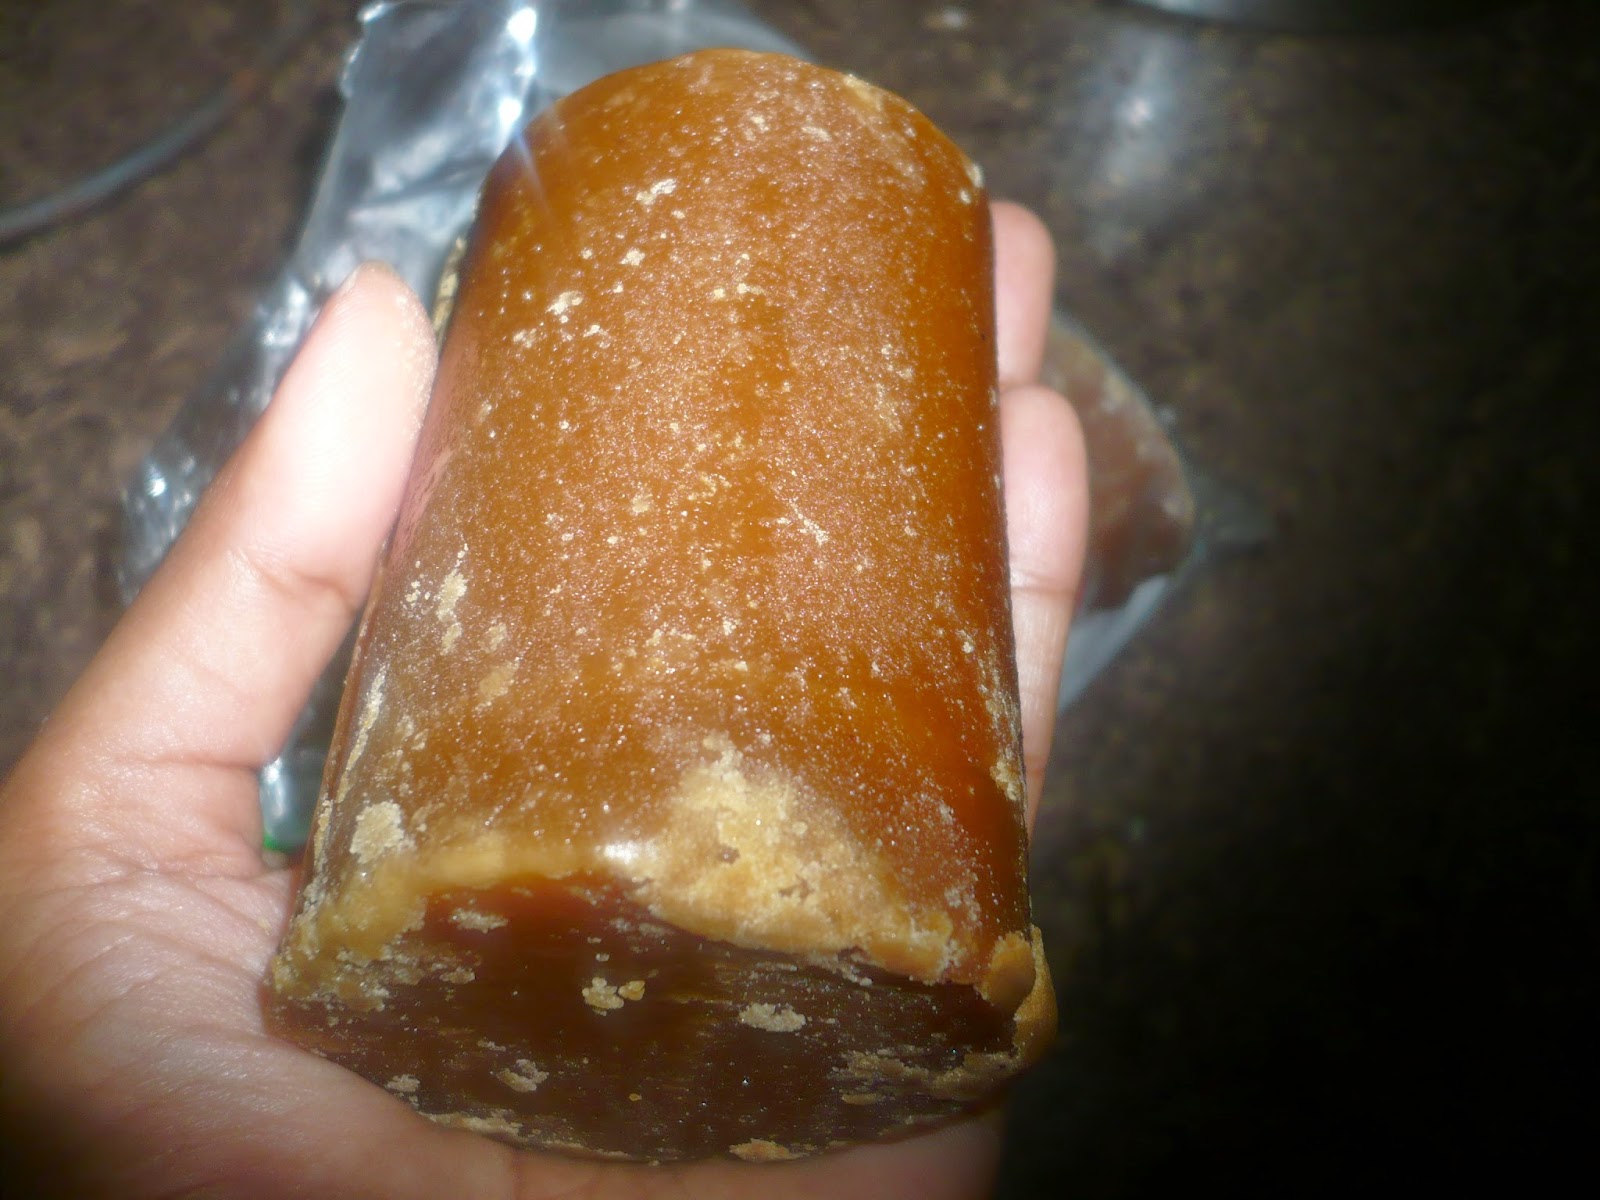
Gula Melaka or palm sugar
11. Mix 1 glass of unsweetened soya milk with 1 tbsp to 1 1/2 tbsp brown sugar syrup and serve hot or chilled. Only add sugar whenever needed to the unsweetened milk.


Poori Masala

Poori masala or potato masala is a great complement with pooris. I prefer this style of masala which my mother used to make at home. I have tasted poori masala at other Indian restaurants before but nothing can beat my mother's special potato masala which has a kick of spiciness and slight sweetness from lots of onion used and fragrance from the exotic spice called Kalpasi or Black stone flower which is available at all Indian Spice store. Lets check the recipe:


Ingredients :

Potato : 4
Big Onion : 3
Small green chillies : 6 to 7 ( adjust according to your taste)
Turmeric : 1/4 tsp
Curry leaves : a sprig
Ginger : 1 1/2 inch
Coriander leaves : 2 tbsp (for garnish)
Salt : as needed

To Temper :

Fennel seeds or sombu : 1tsp
Bengal gram dal : 1 tbsp ( soaked in water for 15 minutes and use after removing the water)
Cinnamon : 1 1/2 inch
Star anise : 1
Kalpasi : 2 small pieces ( use little as it is enough)
Oil : 2 tbsp


Method:


1. Wash the potatoes to remove dirt and steam it in a pressure cooker until it turns mushy.

2. Mash coarsely those boiled or steamed potatoes by removing their skins off.

3. Then add, turmeric and salt and give quick mix again.

4. In a pan, temper the ingredients given under 'To Temper' section lightly till become brown colour but not burnt.


5. Later, stir fry the curry leaves, sliced half moon shaped onions, finely chopped green chillies, and ginger. 


6. Now, once the above mentioned items fried till transparent, add mashed potato mix and give a stir by adding 1/ 2 cup water. 


7. Cook for 15 minutes and at the same time mash big bits of potato pieces with the back of the frying spoon. The potato masala should be semi- thick. Serve it with hot pooris or chapatis.


Poori and Potato masala

Poori


Poori is an Indian deep fried savory bread which is puffed during the frying process. The puffed appearance not only gives pretty look to it  but also further cooks the dough and at the same time retains the softness of the bread through the steam trapped inside. The outer layer has crispiness given by the added rava or semolina and the inner part is soft and chewy. There aren't any special ingredients used to elevate the dish but I'm only sharing the recipe with the viewers. The right consistency of the dough will allow the poori to puff or else it will only turn to be a flat bread. The dough should not be too watery or too hard. Practise makes perfect and the quality of atta or whole wheat flour is also crucial for crispy and soft bread. The poori is best served with potato masala or potato kurma.

Poori

Ingredients :

Homemade atta flour or whole wheat flour : 1 1/2 cups
Rava or semolina : 2 tbsp
Hot oil : 1/2 tbsp
Salt : as needed
Water : as needed (I don't want to give the water measurement as different type of flour may absorb water more or less)
Oil : enough for deep frying

Method:


1. Sift flour in a wide bowl and mix the rest of the ingredients as well including 1 tbsp of hot oil with enough water to form slightly stiff dough but not too hard and dry.

2. Pinch a small ball of a size of medium lime and using rolling pin and board, roll it into a small disk with even surface of not so thin or thick. You may dust a little whole wheat flour for dusting the board in order to prevent the poori from clinging to the board but don't too much flour as the poori may not puff up.

3. You need to fry one poori at a time on a medium flame. Make sure there is enough oil for deep frying in the pan and the oil is hot enough for frying those pooris. Lightly drizzle the hot oil from the pan over the poori while frying to encourage poori to puff and float above the oil. Turn to the other side for a few minutes and remove the poori to a plate laid with oil absorb paper.


Sunday 15 June 2014

Indian Style Stir Fried Egg Cabbage


Stir fried egg cabbage is a great non-vegetarian dish that complements my previous curry leaves gravy shared in this blog. Frankly speaking, it tasted so delicious without the strong smell of the egg. Small onions and green chillies when minced or grated finely remove the unpleasant egg odor. It's best eaten while it is still hot. 


Ingredients :

Shredded cabbage : 3 cups
Small onions or 1 big onion :7
Small green chillies : 5
Egg : 1
Red chilli powder : 1/2 tsp
Salt : as needed

To Temper :

Mustard seeds : 1/2 tsp
Urad dal :  1/2 tsp
Curry leaves : a sprig
Oil : 2 tbsp

1. Shred and wash the cabbage. Drain off the excess water in a colander.

2. Mince or grate the small onions and green chillies finely.

3. In a hot pan, add oil and splutter all the ingredients under the ' To Temper ' section.

4. Now, add the minced items and fry for 3 minutes and after that, you can add the shredded cabbage.

5. Mix chilli powder, salt and stir fry the cabbage till it ooze out liquid and dry slightly.

6. Finally, in a bowl beat egg lightly with little black pepper. This egg mixture is added to the cabbage and cook for another 15 minutes or till the egg smell dissipates.

Curry Leaves Gravy or Karuvepillai kuzhambu

This curry leaves gravy is slightly different because I'm not using coriander seeds and also increased the quantity of  tamarind so, the bitterness of curry leaves is mild and taste just like vathal kuzhambu but still packed with lots of goodness. Curry leaves is the best remedy to improve indigestion problems, ward off anemia as it is rich in folic acid and iron. The usage of curry leaves is also indispensable to prevent diabetes because it regulates blood sugar level and last but not least check greying of the hair and strengthen the hair root allowing proper absorption of nutrients which is important for the hair growth. Do give a try of this recipe.

Indian style stir fried egg cabbage and curry leaves gravy

Ingredients :

Small onions :6 (optional )
Garlic : 6 cloves (optional)
Curry leaves : 2 handfuls
Thoor dal : 2 tbsp
Bengal dal : 1 tsp
Dry red chillies : 5
Black pepper : 2 tsp
Grated coconut : 2 tbsp
Turmeric powder : 1/2 tsp
Asofetida or hing : 1/2 tsp
Tamarind : small lemon size
Water : 3 to 4 cups

To Temper :

Mustard seeds : 1/2 tsp
Cumin seeds : 1/2 tsp
Fenugreek : 1/2 tsp
Salt : as needed
Gingerly oil : 3 tbsp

1. In a pan, adding 1 tbsp gingerly oil, fry onions and garlic lightly. Keep aside.

2. With leftover oil in that same pan, fry thoor dal and bengal dal till light brown colour and keep aside. After that, you need to fry curry leaves till crisp and followed by red chillies. Remove them and keep aside. Grated coconut is fried till brownish colour along with black pepper. All the fried ingredients need to be ground to a fine powder without adding water.


3. Soak tamarind in 4 cups warm water for 10 minutes  and squeeze the extract out. To the tamarind extract, mix turmeric and asofetida.


4. Using 3 tbsp gingerly oil, splutter mustard seeds, ensued by cumin and fenugreek. 

5. Then add the ground curry leaves powder and tamarind extract. Let it simmer and reduced to a thick semi gravy consistency with little oil floating on top. Lastly, add lightly fried onions and garlic pods.


6. The consistency of the gravy is according to your preference. You can bring the gravy to thick stage or semi gravy.

7. Curry leaves gravy could last at least for 3 to 4 days when keep well in refrigerator.


Thursday 12 June 2014

Apple Halwa


Apple halwa is one of my favorite Indian dessert as it has combination of sweet and sourness.  The fragrant and taste of the sweet is elevated, when pureed apples are cooked with pure ghee. It is also a very simple dessert for any cooking beginners to learn and  to be prepared for any occasion in jiffy. You could use any type of red apples such as Gala, Washington etc. Here in this recipe, I have used gala red apples which had little sourness so extra sugar was added to counterbalance the flavor. Yesterday, I made this apple halwa for Shirdi Sai Baba Temple naivedyam or offering during the prayers. The taste was excellent and I was also able to cut small square pieces easily after keeping the halwa in refrigerator for 2 hours. I just heat the knife blade on the stove flame to cut the firm halwa. I think the secret for getting nice square pieces is by frying the ground apple pulp in ghee till the sizzling sound stops and seems slightly dry. The liquid in the pureed apple should all be absorbed during frying before adding sugar. Lets check the recipe in detail. The ingredients are given for 12 pieces but for grand occasion you can double the amount as much needed.

Apple halwa

Ingredients for making apple halwa : (This will yield 12 pieces)

Small Gala red apples : 6
Sugar : 1/2 cup plus 3 tbsp
Ghee : 8 tbsp plus 1 tsp
Cashew nuts : 14
Cardamon powder : 1/8 tsp

*1 cup sweet apple pulp : 1/2 cup sugar
*1 cup sweet and sour apple pulp : 1/2 cup + 3 tbsp sugar

Method:

1. Wash and peel off the skin of the apples.  De seed the apples and cut into small chunks.

2. Blend the cut apples in liquidizer into a smooth pulp. 

3.  Measure the pureed apple to 1 cup. 

blended pulp of 1 cup

4. In a pan, add 2 tbsp of ghee and fry cashews lightly. Keep it aside. With the leftover ghee in the pan, cook the pureed apple pulp. Stir continuously till the sizzling sound stops and it dries out. Now and then, you may add another 2 tbsp of ghee. 

5. Now, add sugar and mix well. The color of the mixture will start changing to deep brown. Keep stirring till the apple mixture leaves sides of the pan and no longer clings to the pan by gradually adding another 4 tbsp of ghee. At this stage, fried cashew nuts can be added along with cardamon powder.

6. The halwa should turn glossy and lastly before removing from the pan, add 1 tsp of ghee. Please refer to the picture number 3 below. 


First stage, mixture has natural liquid of apple pulp and there's a lot of sizzling going on. Second stage, where the pulp starts drying out, now, add sugar. Third stage, bring mixture together without sticking to the sides of the pan.


5. For this halwa, ghee will not ooze out as the amount of ghee used is very little. Transfer it to a plate and spread evenly. Let it cool outside before moving it into the fridge. Then, after 2 hours of chilling in refrigerator, cut and serve.


Tuesday 10 June 2014

Black Pepper Fried Rice


I visited the peninsular country of Malaysia two months ago, there were several forms of pepper manufactured either as a whole black or white pepper, crushed pepper, fine powdered pepper and famous black pepper sauce which is so versatile in any Asian food preparation. In Sarawak, pepper is cultivated as a mono crop without shade mainly on gentle to steep slopes. Vines are planted on mounds, prepared after land clearing. Pepper vines are normally brought to first crop at the beginning of the wet season in the second year of field planting. Harvesting is done from March to August. Black pepper is produced by direct sun-drying of fresh berries harvested from spikes which show early signs of maturity.This sauce has light sweetness, sharp spiciness from the fresh black pepper and vinegar as a main ingredient. This sauce could turn any ordinary dish into an extraordinary one. Well, if you can't find black pepper sauce then you could always substitute it with 1 tbsp of Chilli sauce plus 2 tsp black pepper powder. Paneer or tofu could be used as a protein in this fried rice or prawn or bite size chicken chunks will be an addition for seafood or meat lovers. The fried rice which I had prepared use good amount of cauliflower, snow peas and green peas. Don't get frightened by the quantity of vegetables used here as a natural sweetness. The vegetables complement the black pepper sauce. Hence, its a healthy and wholesome meal.

Ingredients for making rice :


Basmati rice : 1 1/2 cups
Water : 3 cups
Screw pine leaves or pandan leaves : 3 tied into a knot
Salt : 1/2 tsp
Oil : 1/2 tsp

1. Soak the rice in the water for 15 minutes. Drain off excess water and rewash the rice. Add 3 cups water, salt, oil and screw pine leaves. If screw pine leaf is not available in your area, then it could be replaced by 3 inches of  ginger chopped roughly for fragrance. 

2. Cook in the rice cooker. Fluff off the rice after cooking.
Cooked rice


Ingredients for making black pepper fried rice :


Small onions : 8
Garlic : 5 cloves
Fresh small red chillies : 8 (adjust accordingly)
Small cauliflower florets : 2 cups ( I soaked the cauliflower in hot water plus salt for 5 minutes and blanch it )
Snow peas : 2 cups
Green peas : 1 cup
Salt : as needed
Black pepper sauce : 2 tbsp
Oil : 2tbsp

 1. Heat oil in the pan. Grind small onions, garlic and red chillies into coarse paste. Fry the ground paste till the raw smell dissipates. At this stage, you may also add any kind of seafood except fish and small chunks of chicken.


2.  Then add cauliflower and snow peas and cook for 5 minutes. I do not prefer to over cook the vegetables. 

3. Later, add black pepper sauce and salt. Mix them well.


4. Now add the cooked rice by removing the screw pine leaves knot. Mix and fry till the sauce it well incorporated. After stirring for 10 minutes, switch off the stove and lastly add the green peas and give it a quick stir. The peas will further cook in the piping hot fried rice.


5. Now the black pepper fried rice is ready for serving.


Happy Cooking !


-Abby


Spicy Vegetable Biryani

  Spicy Vegetable Biryani INGREDIENTS :  Basmati or Seeraga Samba rice - 2 cups Water - 3 1/2 cups Oil - 3 tablespoons Ghee - 2  teaspoons C...